
All of this information is also available right here. If you’ve already installed Sumo and want to skip straight to how to create an email capture, click here.
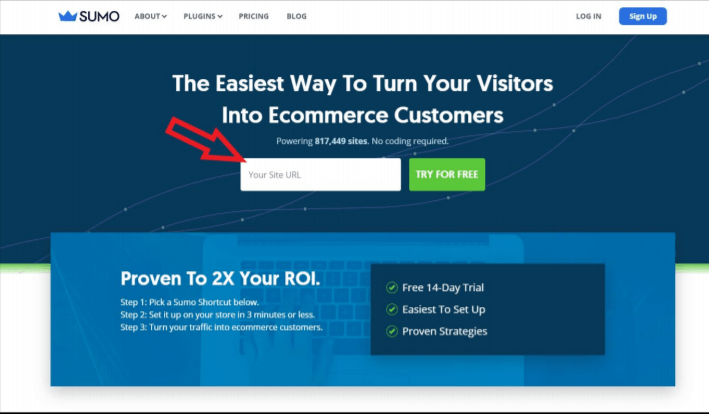
1) Navigate over to the Sumo website by clicking here.
2) Register your website by inputting the domain in the required field.
3) Once you input that information, you’ll be asked to create an account with Sumo using
your email and a password.
4) Now you’re ready to integrate Sumo on your website and create your first campaign.
Install Sumo on your WordPress site:
This specific information can also be found right here.
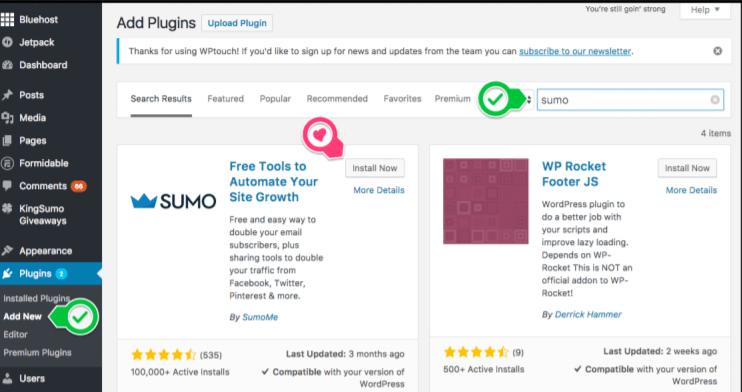
1) On your WordPress admin dashboard, hover over ‘Plugins’ on the left-hand side. Click on ‘Add New.’ Search for ‘Sumo’ and find the app, then hit ‘Install Now’ when you’ve found it.
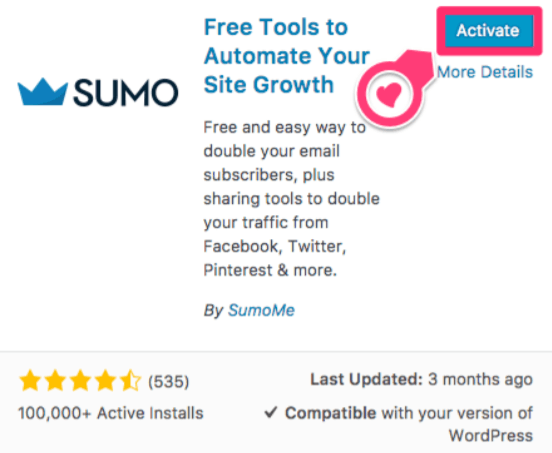
2) After it’s been installed, click ‘Activate’ (in the same place as ‘Install Now’ was).
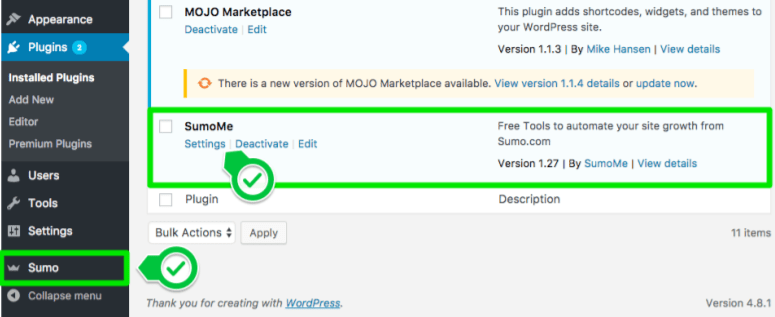
3) Sumo should now be located on the left-hand side of your WordPress admin dashboard. Click on it, and hit ‘Settings.’
4) Click on the green ‘Connect’ button.

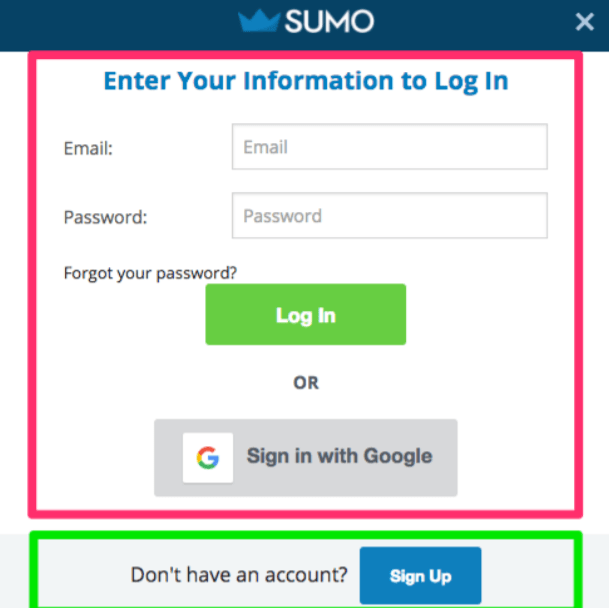
5) You should now be prompted to fill in the login information you created in the first set of directions above!
Install Sumo on Your Shopify Site:
This information can also be found right here.
1) On the Shopify App Store, search for ‘Sumo.’ Once you’ve located it, click the ‘Get’
button.

2) Once you’re on the permissions page, click on ‘Install app’ at the bottom.

3) At this point, you’ll need to enter the login information you created in the first set of steps above.

4) You’re ready to start collecting and sending emails!
Creating Your Email Capture:
1) On the Sumo site, once you’re logged in, you’ll see a list of your sites. Click on the one
you want to create an email capture for. After you’ve done that, click on ‘Create Form.’

2) On the left-hand side of the screen, you’ll be able to play with the design, form type, visibility, and scheduling settings. But for purposes of this tutorial, you’ll want to make sure you start with your goal of ‘Collect Emails.’

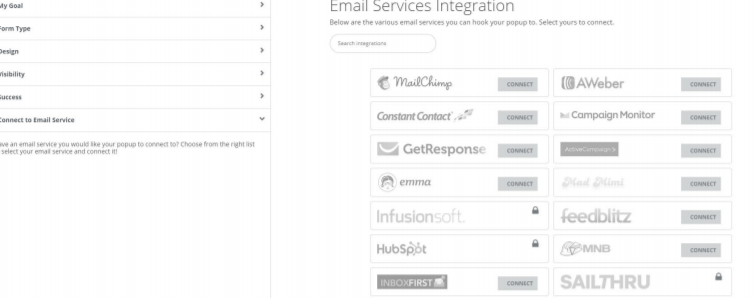
3) After you’ve played with the design features, the last step (Step 6 as Sumo labels it) is to connect the captures you receive with your email service.
4) Now you should be ready to capture emails!